Cool gadget
Best Settings For Blink Outdoor Camera: 8 Crucial Factors
As the world becomes increasingly connected, home security is paramount, and the Blink Outdoor Camera is at the forefront of ensuring your peace of mind. Whether you’re monitoring your property while you’re away or just keeping an eye on your front porch for deliveries, having the best settings for your Blink Outdoor Camera can make all the difference. In this guide, we will delve into the optimal settings for your camera, ensuring that you get the best possible performance and results.
————————————————————————————————–
Key Takeaways
Before diving into the specifics, here are the key takeaways from this guide on the best settings for your Blink Outdoor Camera:
- Placement Matters: Carefully choose the location for your camera to maximize coverage and minimize false alerts.
- Motion Detection Sensitivity: Adjust motion detection sensitivity to reduce false alerts without compromising security.
- Activity Zones: Define activity zones to focus on specific areas of interest.
- Video Quality and Length: Find the right balance between video quality and length of recording to optimize storage and capture essential details.
- Sync Module Placement: Properly position the sync module to ensure a reliable connection with your camera.
- Power Management: Choose between battery and AC power options based on your needs and preferences.
- IR Illumination: Understand how IR illumination works in low light or nighttime conditions.
- Cloud Storage and Subscription: Consider your cloud storage options and subscription plans for saving and accessing your footage.
Now, let’s explore each of these factors in detail to help you make the most of your Blink Outdoor Camera.
————————————————————————————————–
1. Placement Matters
The first step to optimize your Blink Outdoor Camera settings is to choose the right location for your camera. Consider the following tips:
a. Camera Height and Angle
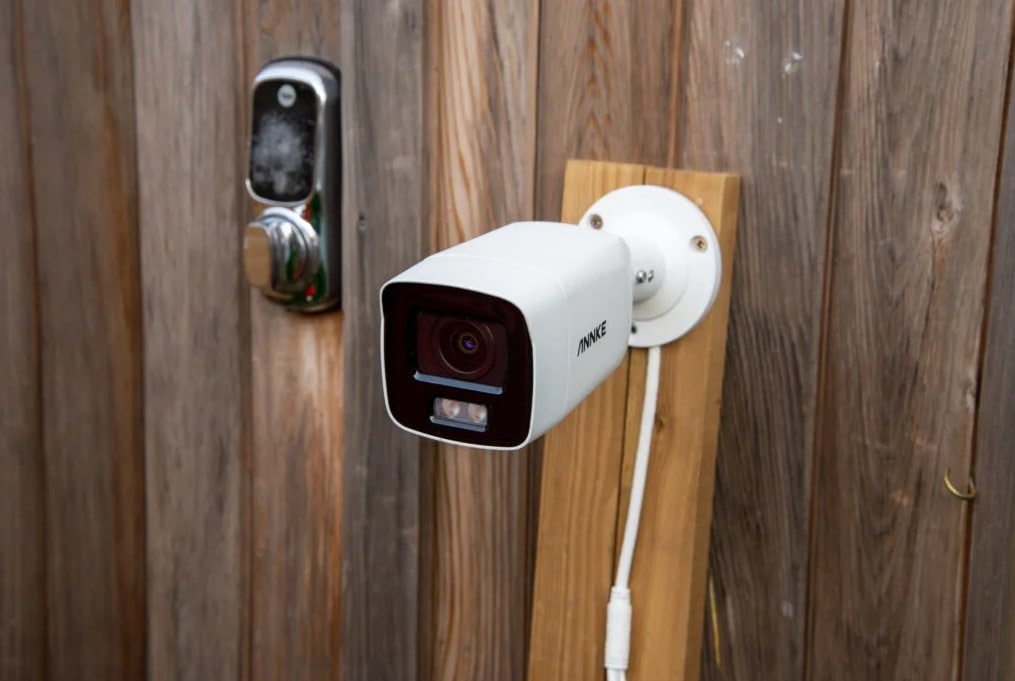
- Place the camera at eye level for a clear view of people’s faces. This not only helps in identifying intruders but also discourages potential wrongdoers when they know they are being watched.
- Angle the camera slightly downward to capture the entire area you want to monitor. This prevents capturing too much sky or ground in your recordings.
b. Weather Protection
- Ensure the camera is sheltered from direct sunlight and extreme weather conditions. Prolonged exposure to harsh weather can affect the camera’s performance and longevity. You can use weatherproof housing or enclosures for added protection.
c. Avoiding Reflective Surfaces
- Avoid pointing the camera directly at reflective surfaces, such as windows or glass doors, as it can create glare and affect image quality. Aim for a clear, unobstructed view.
2. Motion Detection Sensitivity
One of the most critical settings is motion detection sensitivity. Adjust this setting to your preference:
a. Low Sensitivity
- Low sensitivity may reduce false alerts caused by small movements, like leaves blowing in the wind or shadows from moving branches.
- However, it might also miss some motion events, so use it in areas where you want fewer alerts and don’t expect high traffic.
b. High Sensitivity
- High sensitivity will capture more motion but may result in more false alerts from animals, insects, or moving branches.
- It’s useful in areas where you expect frequent activity but may require adjusting the activity zones (discussed in the next section) to narrow down the focus.
Experiment with different sensitivity levels to find the right balance for your specific location.
3. Activity Zones
Blink Outdoor Camera allows you to create activity zones, defining specific areas where you want motion detection to be active. This feature is handy for reducing unnecessary alerts triggered by motion in less critical areas.
a. Defining Zones
- Define activity zones to cover entrances, paths, and high-traffic areas while excluding less important spaces like a tree line or a portion of the yard.
- This not only reduces false alerts but also conserves storage space on the Blink cloud servers.
4. Video Quality and Length
Find the sweet spot between video quality and the length of recording to optimize storage:
a. Video Quality
- Higher video quality consumes more storage space and may drain the battery faster, so choose the level of video quality that best suits your needs.
- Consider using higher quality for areas with critical monitoring needs and lower quality for less crucial areas.
b. Clip Length
- Adjust the clip length to ensure you capture the necessary footage without excessive recordings.
- Shorter clips may be ideal for capturing quick events, while longer clips can provide more context for the recorded event.
5. Sync Module Placement
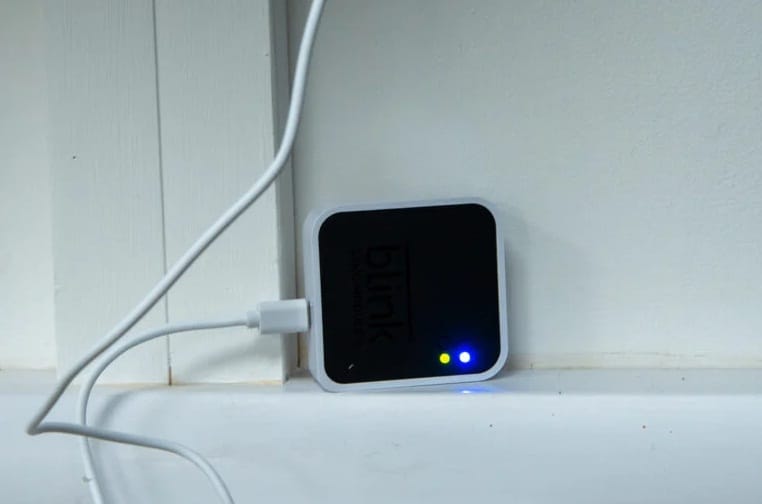
Your camera communicates with the sync module to transmit footage and alerts. Ensure the sync module is placed centrally:
a. Sync Module Range
- Position the sync module within the recommended range of your Blink Outdoor Camera for a strong and reliable connection.
- Avoid placing it too far from the camera, as this can result in connectivity issues.
6. Power Management
Choose the power source that best suits your needs:
a. Battery-Powered Cameras
- Battery-powered cameras offer flexibility but require occasional battery replacements. The frequency of replacement depends on the camera’s usage.
- Ensure you keep spare batteries on hand to minimize downtime.
b. AC-Powered Cameras
- AC-powered cameras provide continuous power without worrying about battery life. They are ideal for high-traffic areas and continuous monitoring needs.
- Consider your camera’s location and accessibility when deciding between these options.
7. IR Illumination
Understand how IR illumination works in low light or nighttime conditions:
a. Night Vision
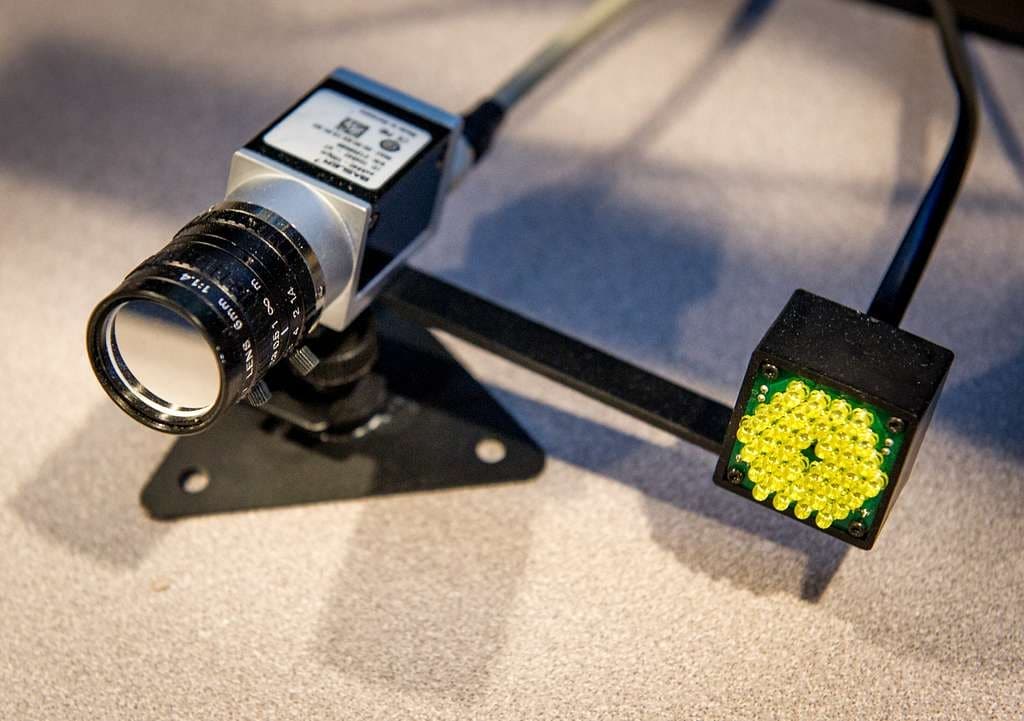
- Blink Outdoor Cameras use infrared (IR) LEDs for night vision. These LEDs emit infrared light that is invisible to the human eye but illuminates the scene for the camera’s sensors.
- Ensure that there are no obstructions or reflective surfaces in the camera’s field of view that could affect night vision quality.
8. Cloud Storage and Subscription
Consider your storage options and subscription plans:
a. Free Cloud Storage
- Blink offers free cloud storage for a limited number of clips. This is a cost-effective option for users with minimal storage needs.
b. Subscription Plans
- Explore Blink’s subscription plans for extended storage and additional features, such as 24/7 recording and advanced AI detection.
- Choose a plan that aligns with your storage requirements and budget.
Conclusion
Your Blink Outdoor Camera is a valuable tool for enhancing your home security. By carefully configuring the settings, optimizing placement, and understanding the features at your disposal, you can maximize its effectiveness. Remember to regularly review and adjust these settings to adapt to changing conditions and requirements. With the best settings for your Blink Outdoor Camera in place, you can enjoy greater peace of mind knowing that your home is well-protected.
-

 Gadgets6 months ago
Can Dogs Use VR Headsets?
-

 Tech6 months ago
What Does “Voicemail Pending” Mean?
-

 Phones5 months ago
How Do I Know if My Phone Supports AR?
-

 Tech5 months ago
Does Astigmatism Affect Your VR Experience?
-

 Business5 months ago
How Do You Make an AR Without Coding?
-
 Phones5 months ago
What To Do About That Weird Notification Sound on Android?
-
 Tech4 months ago
How Can I Get Google Drive 1TB for Free?
-

 Phones4 months ago
How Does SnapDrop Work? – Instant File Sharing Made Easy


